Screen Capture with Screencastify
Completion requirements
First, visit screencastify.com with Google Chrome, click the blue "Add to Chrome" button.

Once the Chrome extension has been installed, users can click it to activate Screencastify.

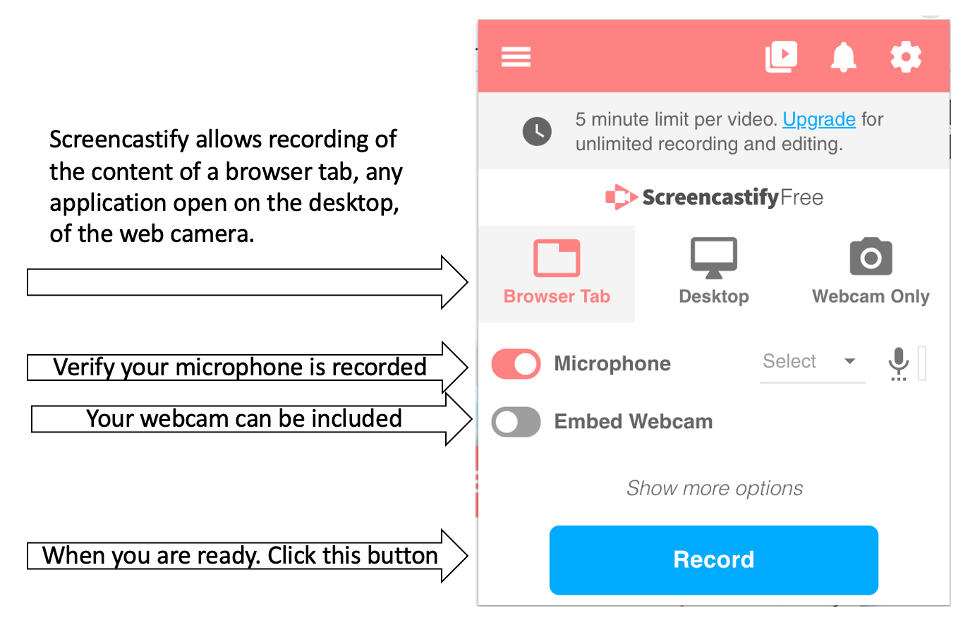
Users have several choices about what will be recorded with Screencastify.
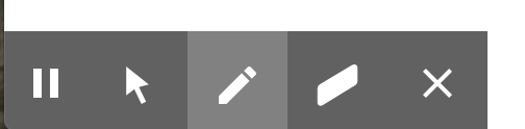
When the recording is being made, users have a pause button, pen and erasers in the tools on the bottom left.
To stop recording, click the Screencastify icon again, then the stop button


The Screencastify .webm file is automatically added to the Screencastify folder in your Google Drive.
Follow the directions in "Adding Content from Google Drive Faculty to Moodle" to put the Screencastify recording in your Moodle classroom.
Last modified: Monday, June 15, 2020, 8:12 AM