Add Scheduler to Your Class and Configure It
Completion requirements
Scheduler is a tool that allows faculty to add time slots to a classroom; students can self-schedule appointments (or faculty can schedule for them).
How to set up the scheduler:
1) Open Moodle, click "Add and activity or resource," and name the Scheduler (for example "Mid-term Exam Oral Presentation").
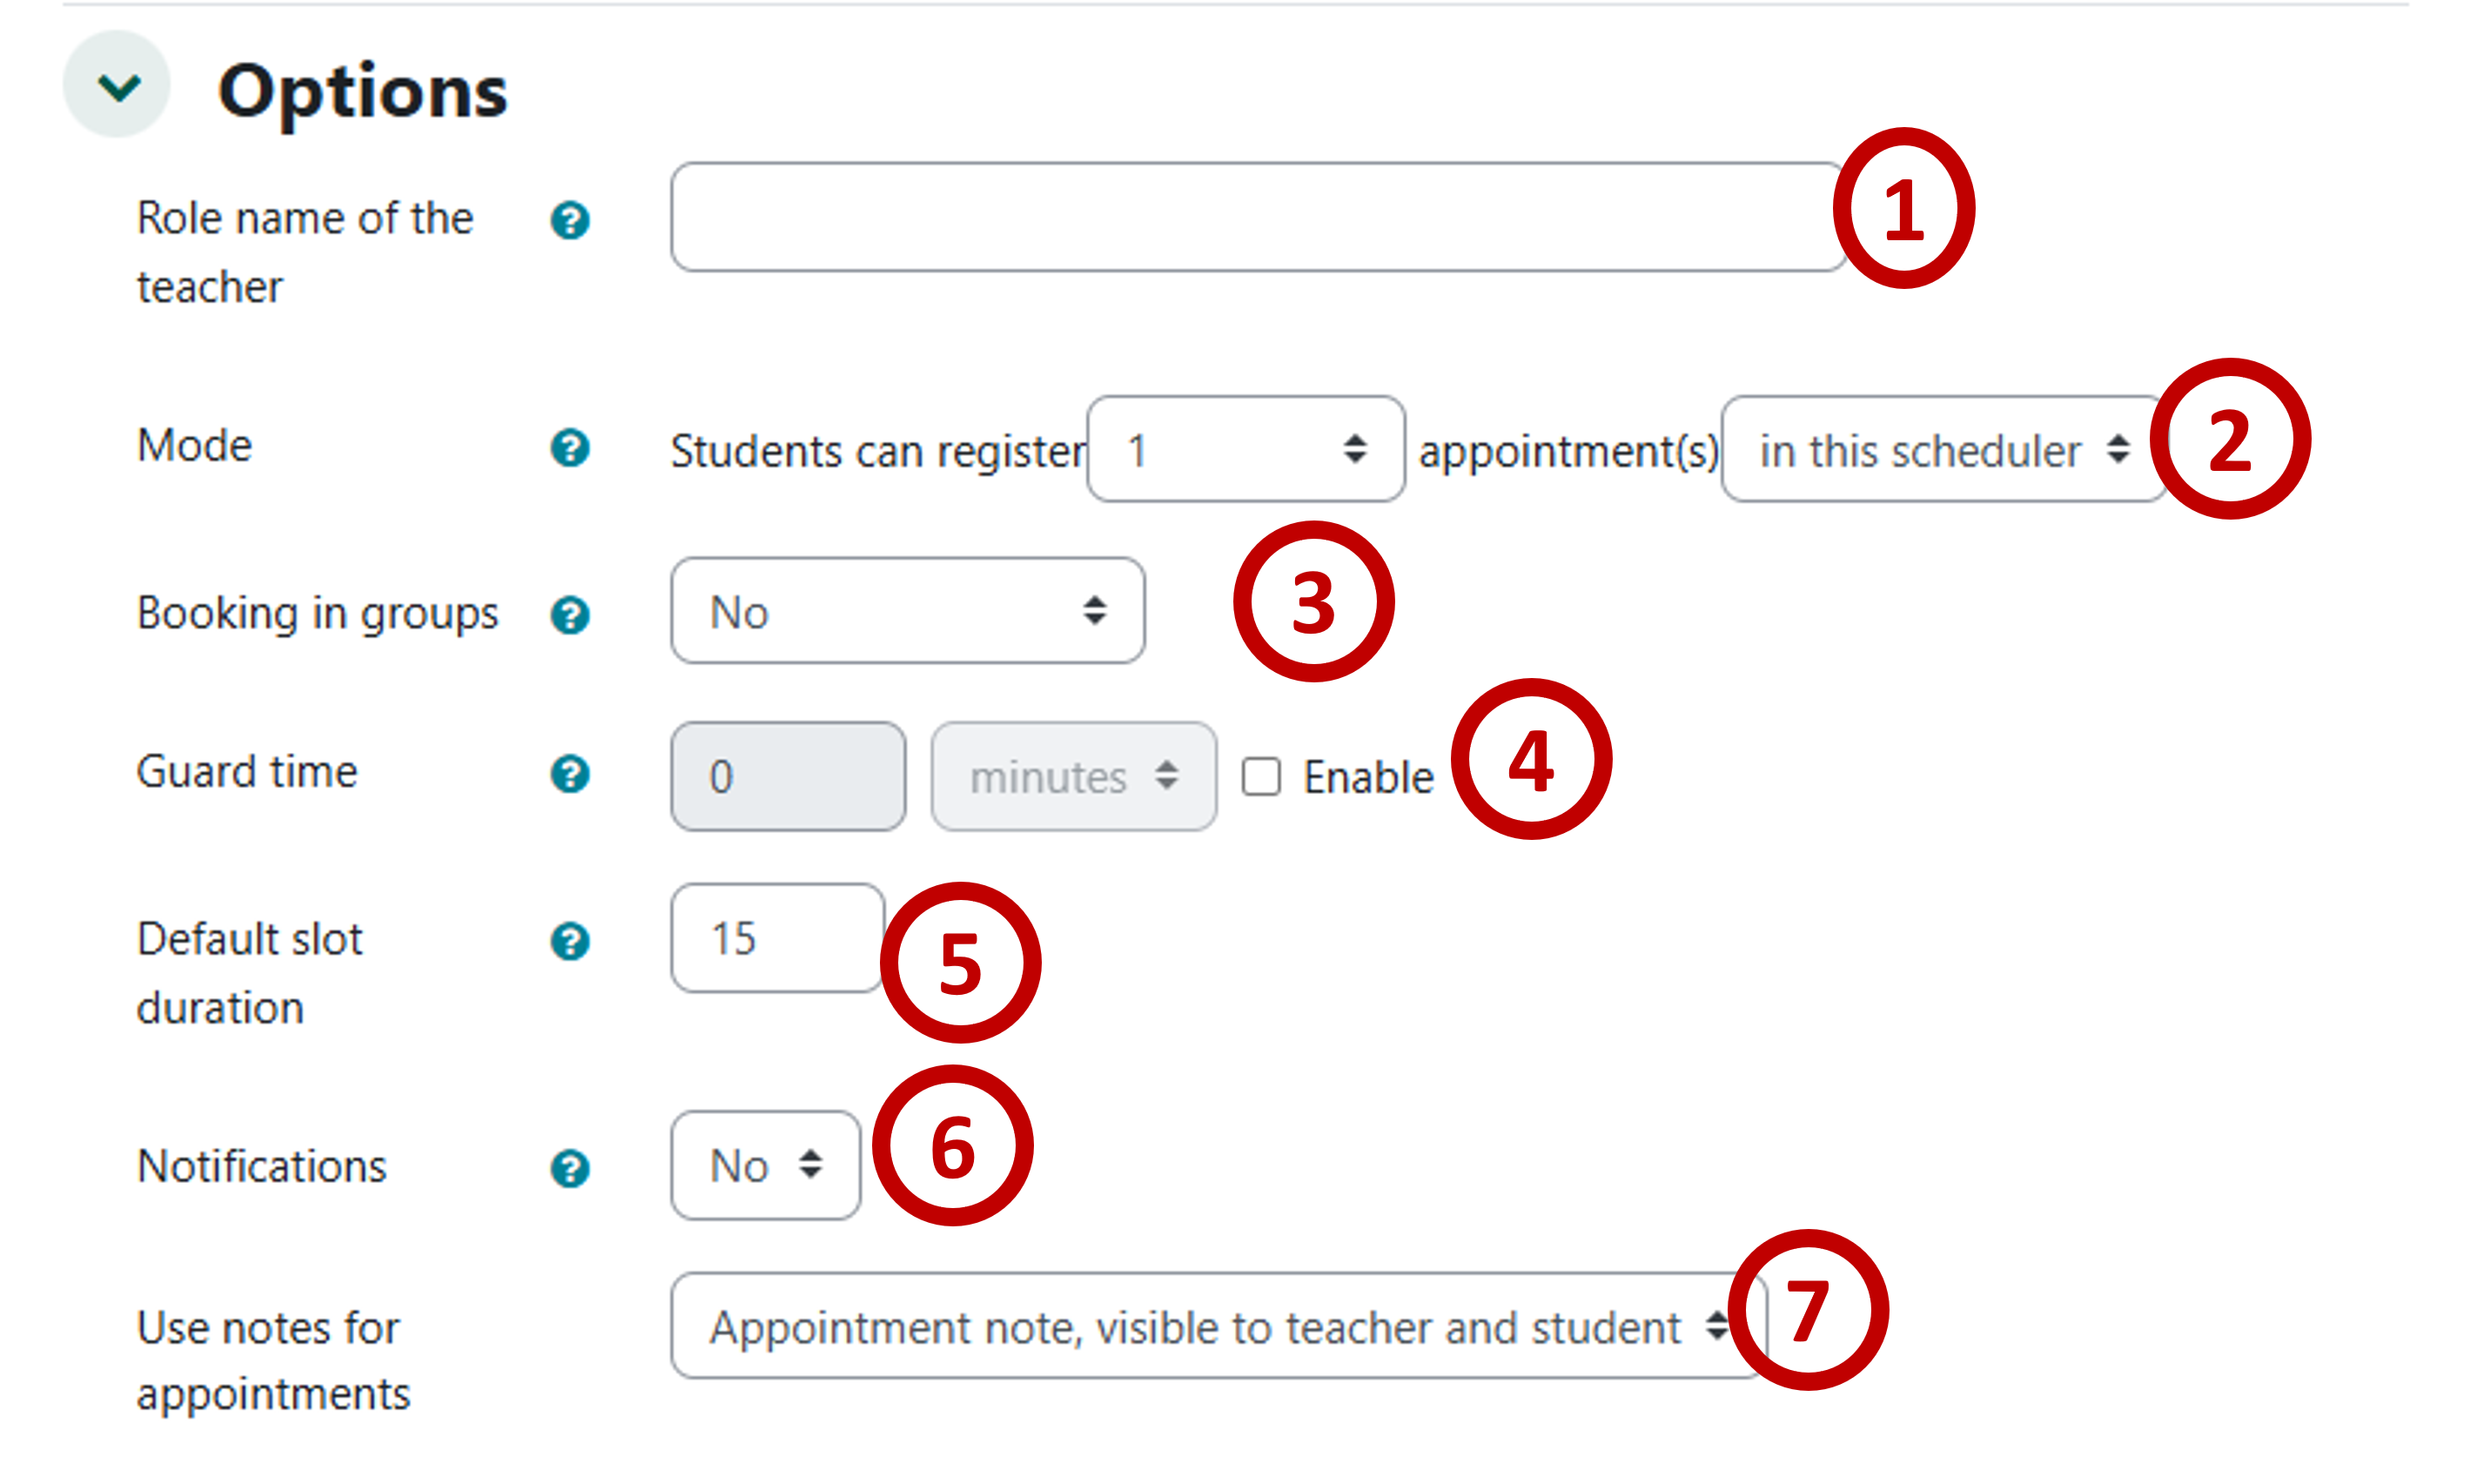
2) Open the "Options" to configure those settings:
- You can leave this alone unless you have a teaching assistant
- Determine how many appointments students can set
- Allow students to book in groups
- Guard times allows you to build in breaks in your schedule
- Set time limits for slots
- Allow notifications to for changes to the appointments
- Allow notes, confidential notes, or both types of notes
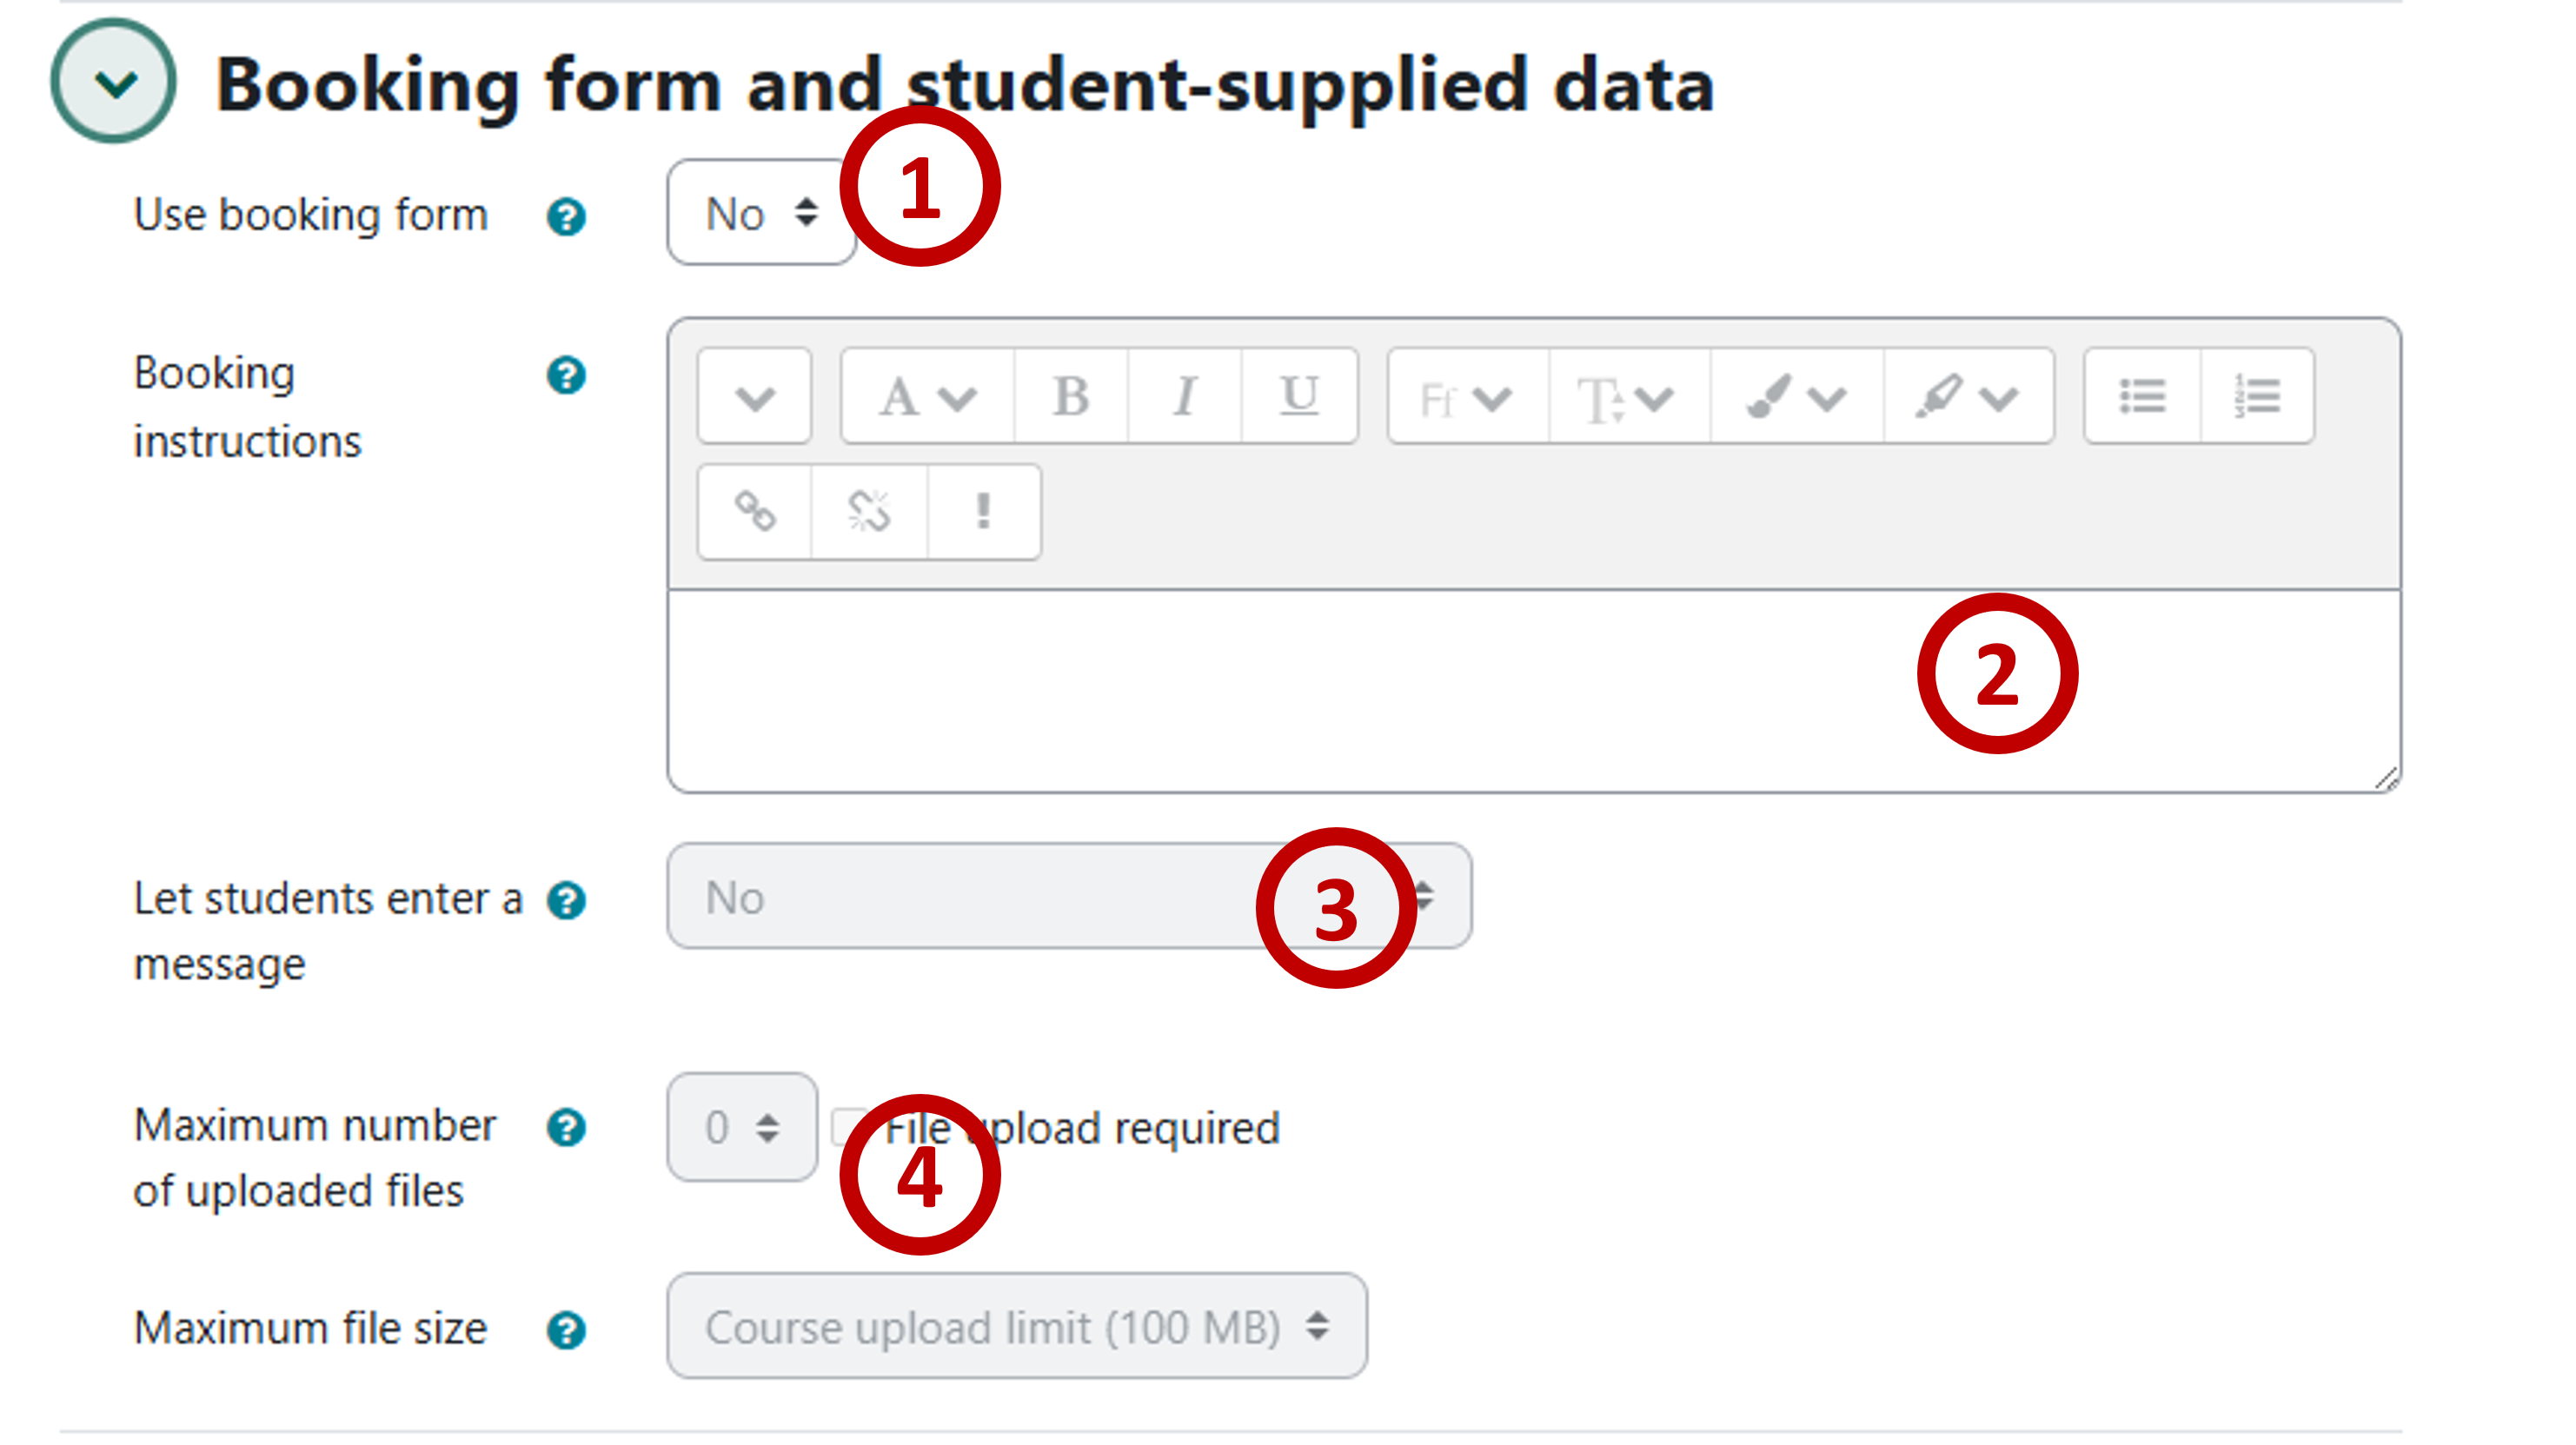
- Enable the form
- Display instructions for the session (these are the same for all appointments)
- Allow students to send message
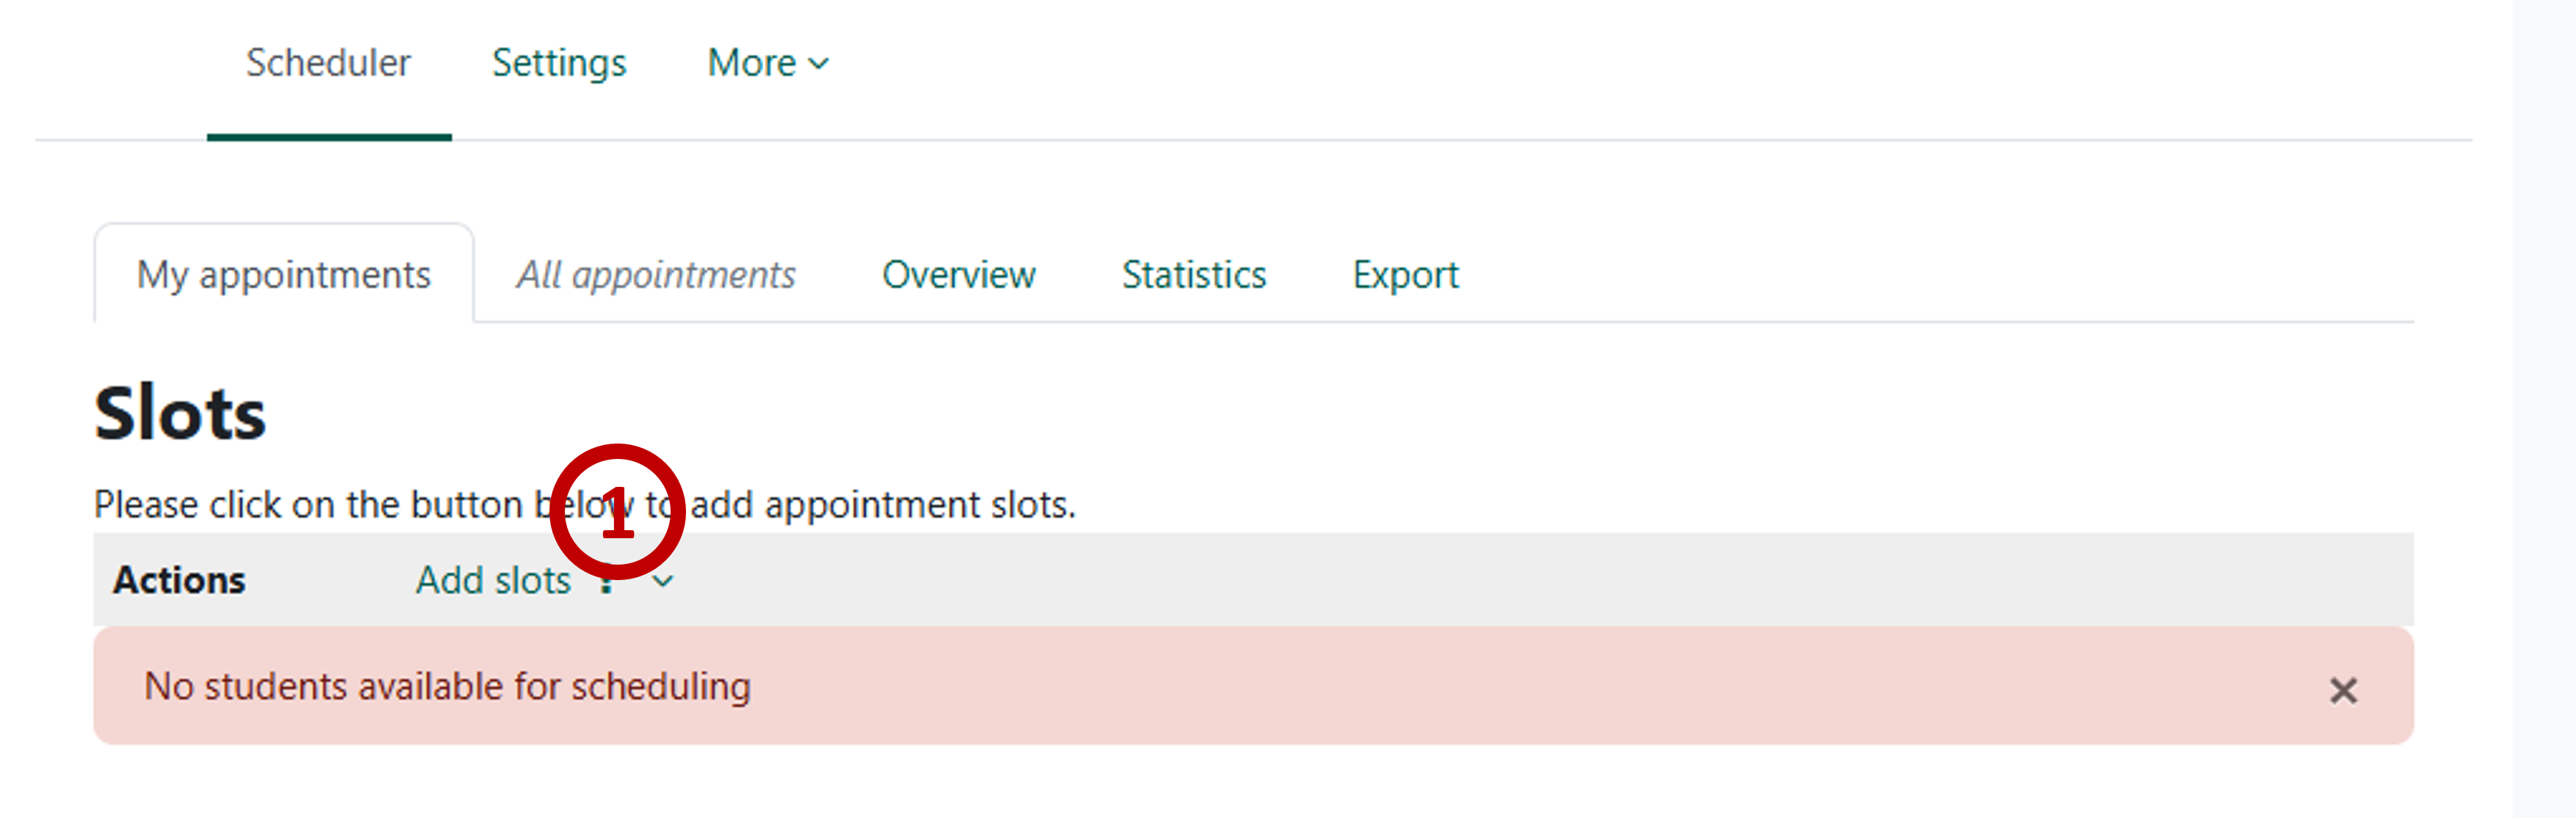
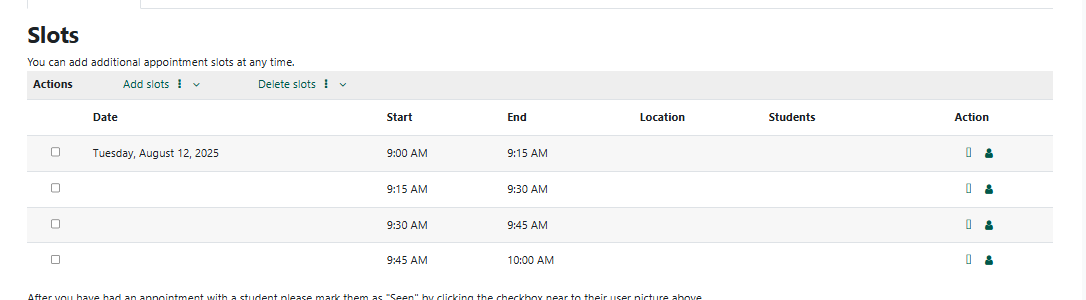
9) "Save and display" the scheduler to "Add slots"
10) Use the repeat slots to configure the options. Most of these controls are easy to understand.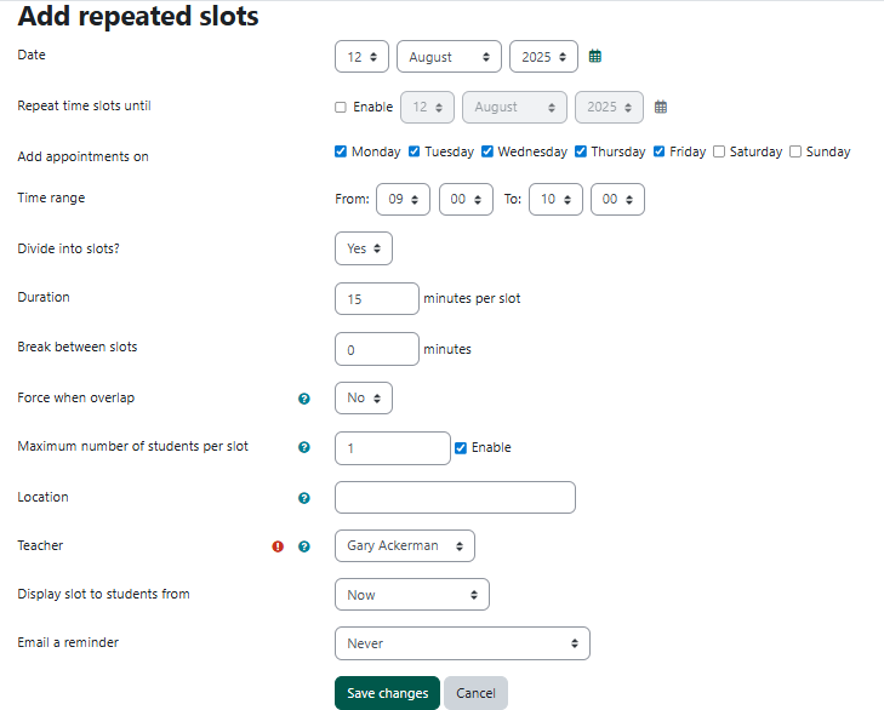
11) Once the slots are scheduled, they can be managed in the scheduler.
Last modified: Tuesday, August 12, 2025, 9:50 AM